Allocating Expenses Listed on Vendor Bill via Landed Cost

In this article

Full training library
When entering purchase invoices for inventoried items, the vendor sometimes includes other costs which you need to allocate across the value of the items received into inventory.
With the Landed Cost, users have the option to allocate these additional expenses, such as freight or customs. This approach will increase the inventory value for the items on the PO, as opposed to expensing theses costs. This gives you a true and accurate representation of the cost of goods sold for your customer invoices.
Add Expense to Purchase Invoice for Allocation
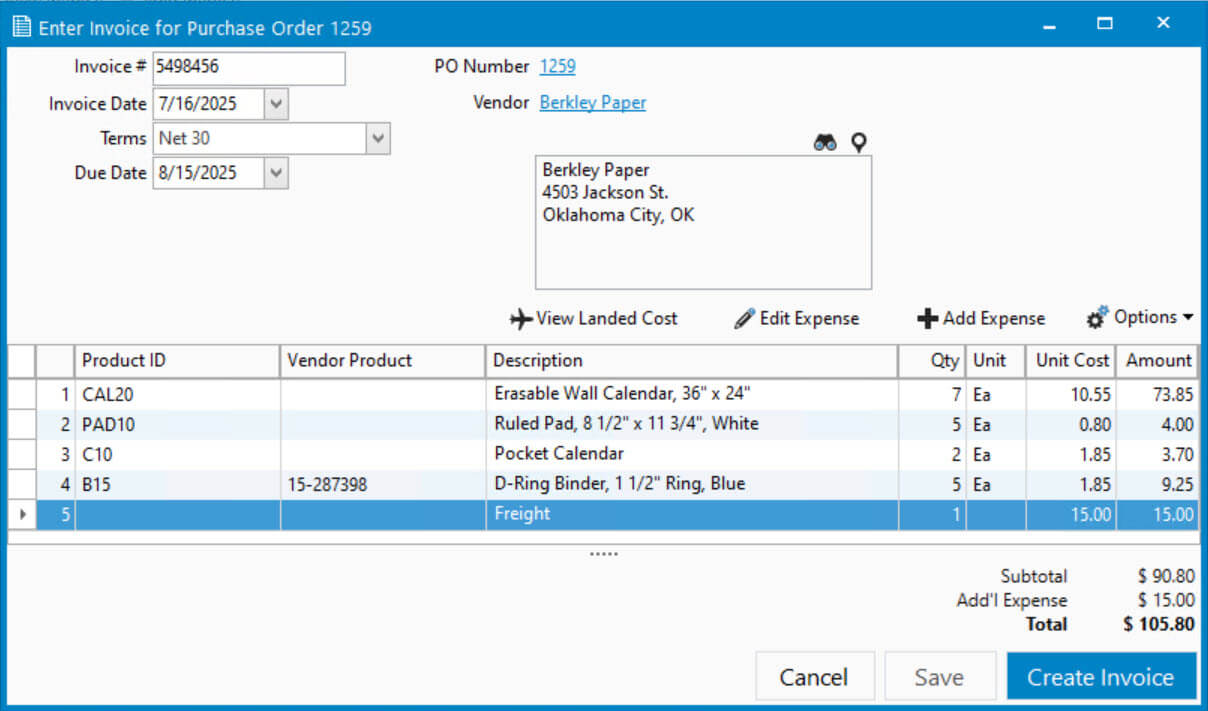
- After entering all the Purchase Invoice details, select Add Expense above the product grid.
- Enter an Expense description (e.g., Freight) and an Amount.
- Check the Add expense as landed cost box.
- Click Save & Close followed by Yes on the prompt to save what you’ve entered and open the landed cost session.

Allocate Expense to Products Received on Purchase Order
After saving the PO Invoice changes, the Enter Landed Cost window opens with the products received pre-filled.
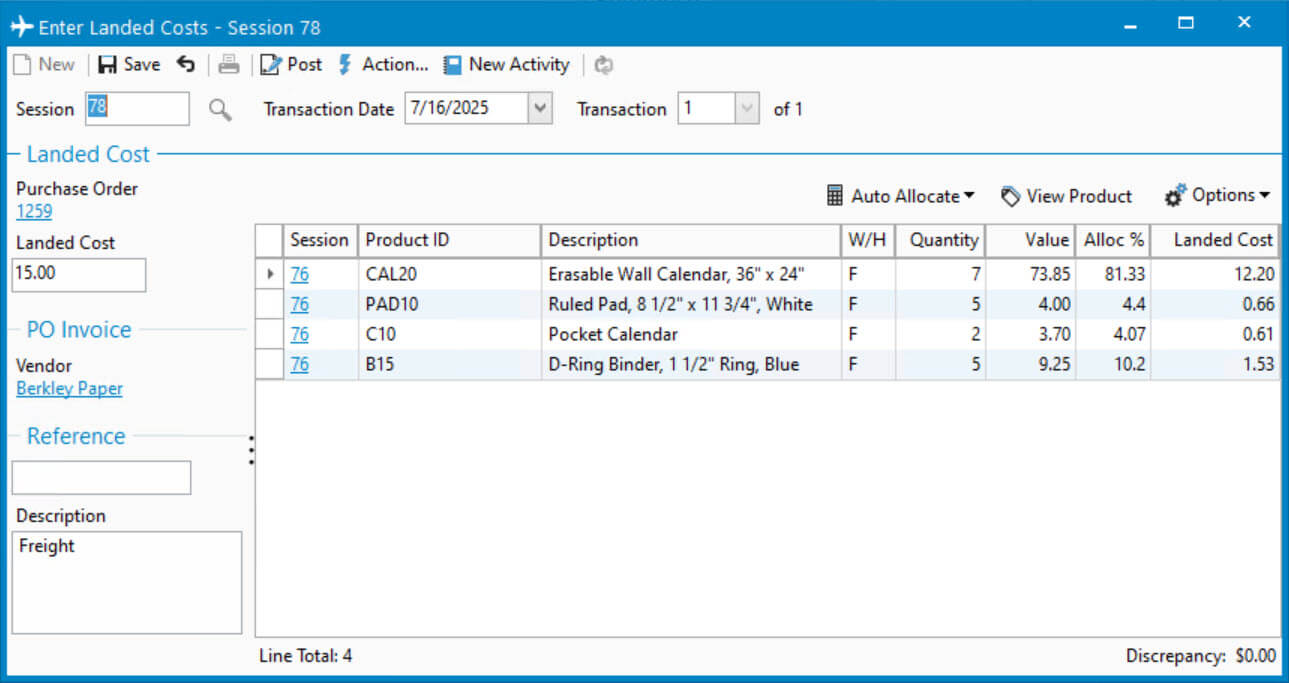
- Click Auto Allocate to calculate the Landed Cost amount by Quantity, Value, Weight, or Volume. The weight or volume comes from the Specs tab of the Edit Product window.
- If necessary, you can manually adjust the Allocation % or Landed Cost value for each item. The Landed Cost Factor can be used to change the way cost is allocated to a specific item.
- When finished, click Post.
- Choose Yes on prompt to post inventory session.
- Close the window to return to the Purchase Invoice window. You can add additional expenses, if necessary, or click Create Invoice to complete the process.