Assemble Finished Goods with Acctivate Mobile Inventory Assemblies

Full training library
With Acctivate Mobile Inventory Management, users can create and post inventory assembly sessions without printing work orders. Based on the configuration management settings for mobile assemblies, employees can save and/or post the sessions directly from the mobile device. Once posted, the selected components and their respective lot/serial numbers or bin locations are removed from stock while the finished product is added to inventory.
We have two versions of Acctivate Mobile: Android and Windows Mobile (WM). The steps below cover both versions with the slight variations noted.

Assemble Inventory on Acctivate Mobile
- Navigate to the Inventory Assembly screen:
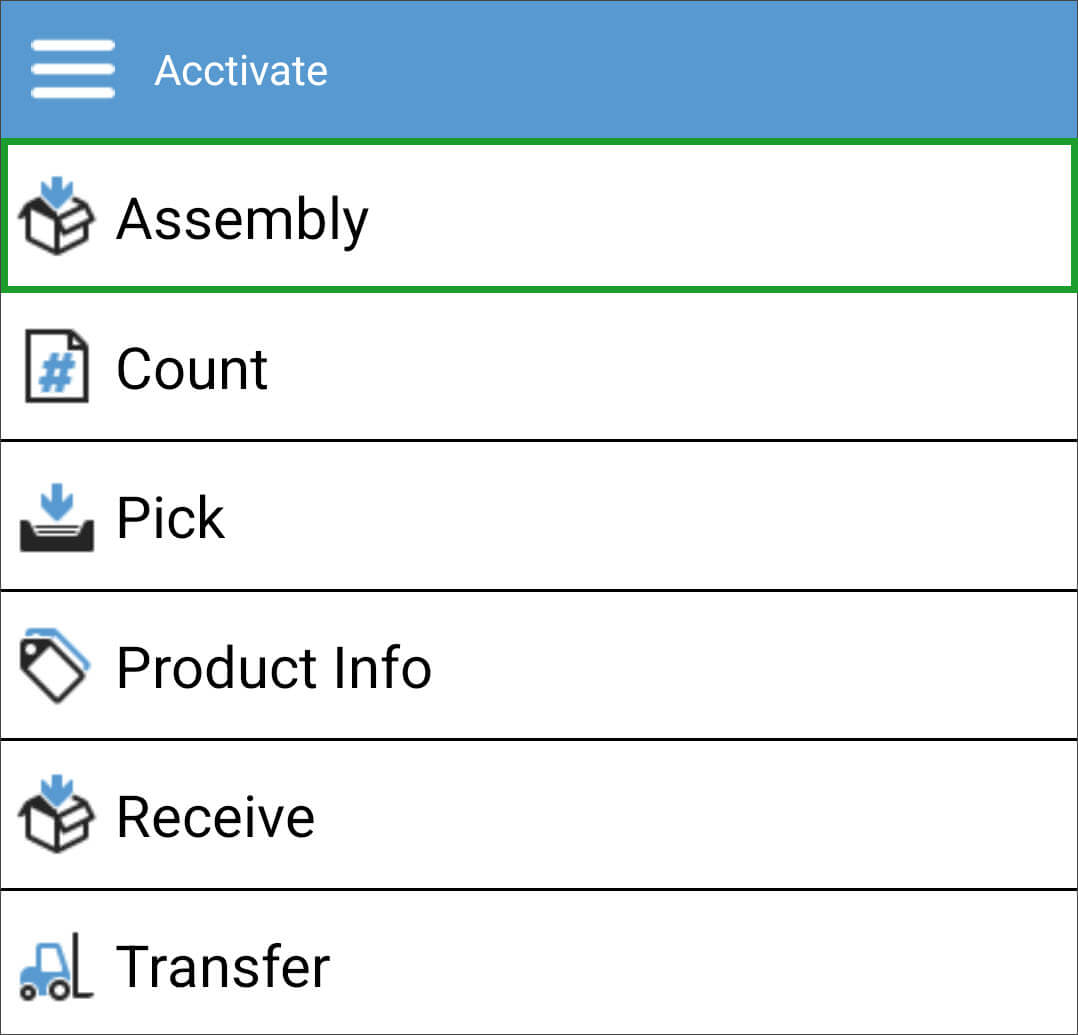
- Android: Select Assembly from main menu after logging into Acctivate Mobile with the same user as the desktop app.
- Windows Mobile: Click Inventory > Assembly
- This opens the Inventory Assemblies screen which includes 2 options:
- Create new assembly session (WM: new transaction > press right arrow below options): This creates a new inventory assembly session to fill in as you go.
- Choose an existing session in the list. Skip to step 9 after choosing this option.
- WM: Open existing transaction > press right arrow below option: Toggle this option to select from a list of open inventory assembly sessions.
- Add the product needing to be assembled. This action is performed by scanning a product barcode, manually entering the ID in the Product field, or using the lookup to search for and select from a list.
- Steps 4-7 can be adjusted any time on Android by clicking the pencil icon next to the finished good item when session is open.
- Specify the build Qty being assembled. When utilizing process assemblies, a Yield value will become available on screen.
- Choose warehouse from W/H drop down. This is the warehouse the finished product will reside in.
- If using bin locations, you have the option to scan, lookup, or manually enter the Loc.
- When needing to track some text on the transaction, enter in the Desc field. This will show on reports for the transaction within Acctivate.
- Select the top right arrow to move to the next screen which can vary depending on modules:
- Option to create lot/serial numbers for the finished good at this time. Scan or enter the Lot / Serial # value in the named field. If this lot/serial number expires, toggle the Exp box and select the expiration date. Click check in top right corner when done.
- WM: Enter values in the Desc, Ref, and Spec fields for the transaction > Select the right arrow in the bottom right-hand corner when all values entered.
- Review the list of components to see what needs to be picked for assembly or updated to reflect the proper information:
- Select each line to make necessary changes for values like W/H, quantity (variable components), and choosing a Loc.
- To add lot/serial numbers, scan a barcode or click #+ icon to add manually by selecting from a list or typing value into field. Adjust Qty based on how many you pulled from this lot/serial number and review Loc selected. Press check to add to session. Repeat steps until all lot/serial numbers assigned. (WM: unable to add additional lot/serial numbers).
- Use arrows in top of screen to toggle between component lines or the check mark to go back to the component list with finished good.
- To modify the component list for custom/process assemblies (Android only):
- Add Component Product: Select product icon with + to scan, enter product ID, or use lookup to select.
- Delete Component Product: Press and hold component line to see DELETE option appear on top of screen.
- WM: Unable to update component list on device. Save save the session on the mobile device to be opened on the desktop app.
- Once the components and their quantities are reviewed and verified, select the check box in the top of the screen.
- The last screen gives the user the following options
- Save: Save the changes to come back to later for posting.
- Post the assembly session: The user can save and post the session into inventory. This does require an option to be checked in configuration management.
- W. Status: Update the workflow status of the session.
- Split (Android only): Specify how much of the total you’re wanting to post now and leave for later.
- WM: Adjust the build qty or yield.
- Click check mark at top of the screen to save or post above details.
- A message shows on screen telling the user what session number was saved or posted while the screen returns to the session list. Saved sessions can be accessed another time on the mobile device or the desktop app. WM: Select green check in top left-hand corner to complete transaction and go back to Inventory Assemblies screen.


