Purchase Invoice


Entering a Purchase Invoice in Acctivate is the final step in the purchasing process, following the creation of the Purchase Order and the receipt of goods. This step records the invoice you’ve received from your vendor and creates a corresponding Vendor Bill in QuickBooks for payment after sync.
The invoice process can only be completed for Issued purchase orders.
Acctivate compares the invoice details to the quantities and costs from the receipt. If the unit cost differs, Acctivate automatically updates the receipt to reflect the invoiced price. If the receipt occurred in a closed period, the prior period adjustment posts on the first day of the open period.
If the invoice is entered before the purchase order is received, Acctivate will not reconcile the unit cost or create any cost adjustments.
Initiate Purchase Invoice
You can create a Purchase Invoice from either the Purchasing List or the Enter Purchase Order window:
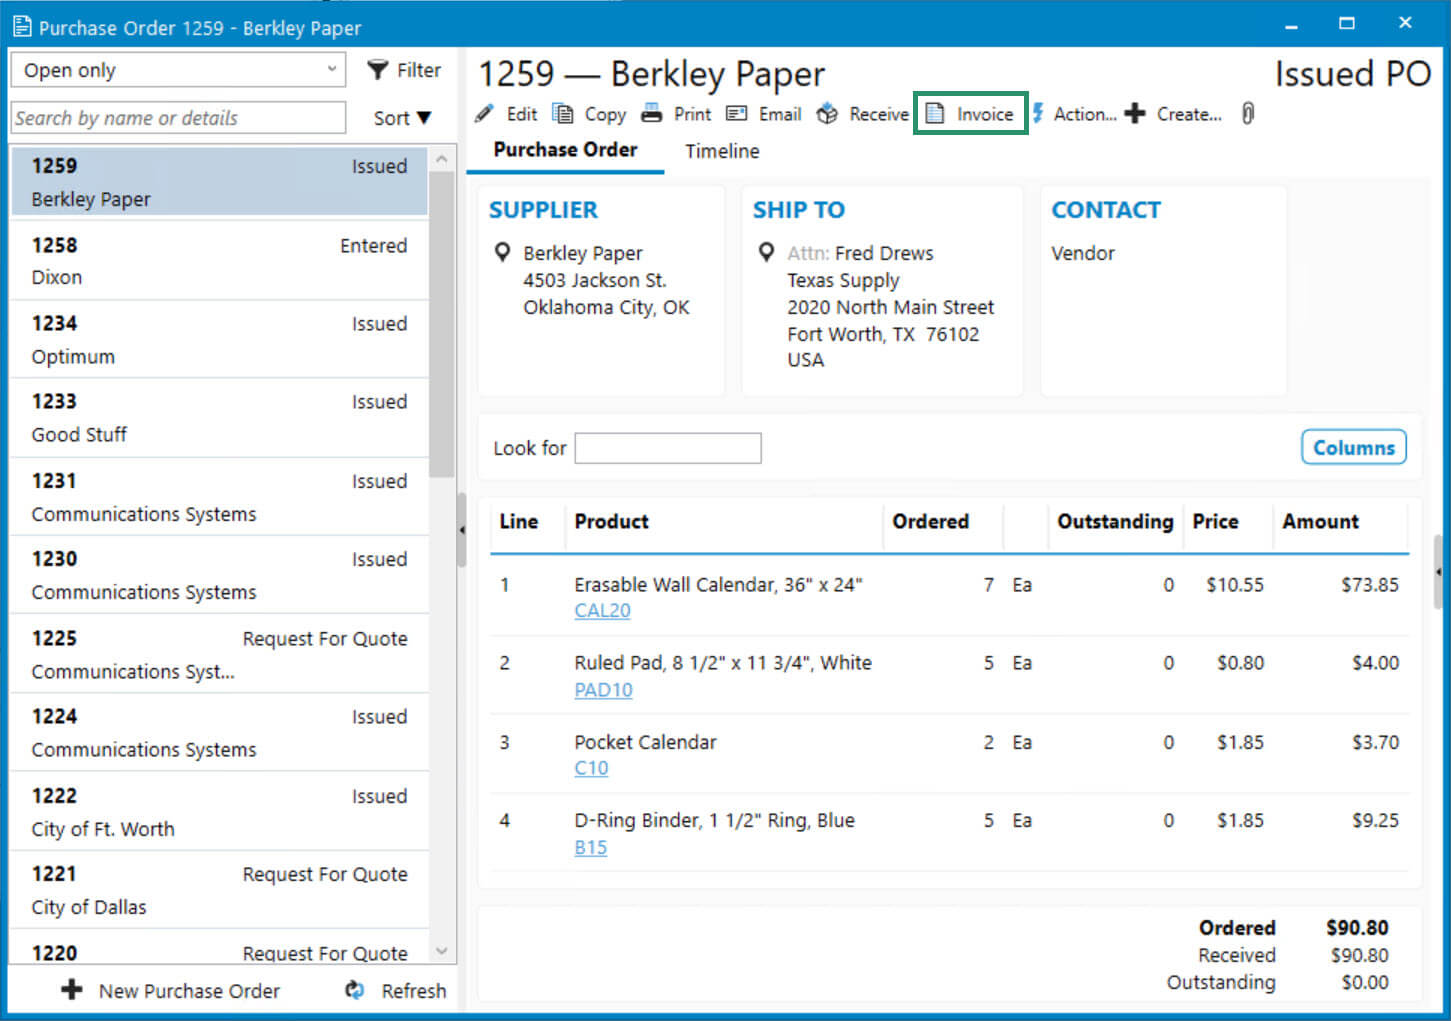
- From the Purchasing List:
- Click Purchasing from the left-hand navigation bar
- Search for and select the purchase order in question
- Click Invoice button in the list of available actions across the top
- Enter Purchase Order window
- Go to Purchasing > Enter Purchase Orders or click the Purchase Order button on the icon bar
- Enter the PO Number and press tab or use the magnifying glass to lookup to search
- Once the PO opens, click the Invoice button at the top
Entering the Purchase Invoice Details
Once the Purchase Invoice window opens, begin by entering the invoice details from your vendor, followed by reviewing the products listed:

- Enter the invoice header details at the top of the screen:
- Invoice #: Enter the invoice number from the vendor bill.
- Invoice Date: Use the calendar or type the in the date.
- Terms: Defaults from purchase order but can be updated if needed.
- Due Date and Discount Date (QuickBooks desktop only) will auto-fill based on the selected terms.
- Review the product lines in the grid below:
- Each line displays the Product ID, Vendor Product ID, Description, Qty, Unit, Unit Cost, and Amount.
- To add more columns, click Options > Show Columns > check/uncheck fields.
- Review each line item against the vendor’s invoice:
- If the invoice matches what was received, no changes are needed.
- If you purchased non-inventoried or non-standard items, you need to manually change the Qty to approve.
- When creating partial invoices, override the Qty to reflect what’s being invoiced for this specific vendor bill.
- If you are not being invoiced for a line, change the Qty to 0.
- Each line displays the Product ID, Vendor Product ID, Description, Qty, Unit, Unit Cost, and Amount.
- (Optional) Add Expenses for freight or additional charges included on the bill:
- Click Add Expense on the top right corner of the product details.
- In the pop up window, type the Expense description (e.g., Freight).
- Enter the Amount.
- Choose one of the following:
- Add expense as landed cost to allocate the amount to inventory value. You’ll be prompted to save the invoice and continue in the Landed Cost window. For more detailed instructions, check out this training page.
- Select an Expense Acct using the look up button to post it as a regular expense without affecting unit cost. Click Save & Close when done.
- Verify the Total in the bottom-right corner matches the total listed on the vendor bill.
- Click Create Invoice once everything is entered followed by Yes on the prompt.
- If the unit cost differs from the original receipt, you’ll be asked if you want to “Change the details on the receipt?”.
- Click OK to update the inventory value and receipt accordingly.
- Complete the Purchase Order, if applicable:
- If all outstanding quantities have been invoiced, you’ll be prompted: “Should this PO be marked as ‘Completed’?”
- Click Yes if no more receipts or invoices are expected.

