Receive Shipments with Acctivate Mobile Receiving

Full training library
With Acctivate Mobile Receiving, warehouse employees can scan products to receive shipments from vendors into the warehouse. We recommend receiving against a purchase order, but users have the option to create standalone receipt sessions on mobile.
Make sure to review the mobile receiving options in configuration management prior to using this module. The different configuration options change the unit utilized for the receipt, whether it’s received in full, and the ability to save vs post the session.
We have two versions of Acctivate Mobile: Android and Windows Mobile. The steps below cover both versions with the slight variations noted.
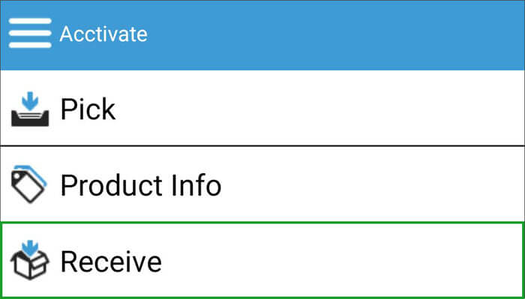
Inventory Receipts on Acctivate Mobile
- Navigate to the Inventory Receipts screen:
- Android: Select Receive from main menu after logging into Acctivate Mobile with the same user as the desktop app.
- Windows Mobile: Click Inventory > Receive.
- On the Inventory Receipts screen, users choose between creating a receipt From PO or a standalone receipt for the selected W/H (warehouse). Android includes a toggle for PO vs W/H selection at the top of the menu while Windows Mobile shows both options without a toggle.
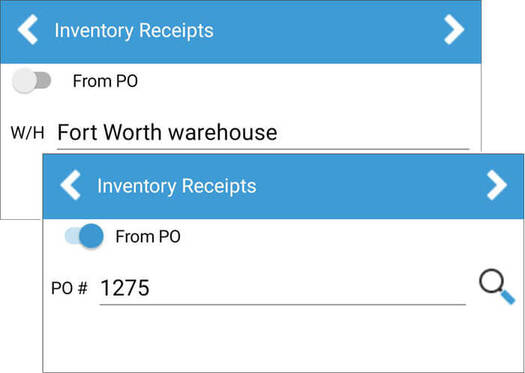
- Click right arrow after selecting the PO number or warehouse to move into the receipt details screen.
- Based on selected option in step 2:
- Receive from PO: When utilizing receive in full option, each product will show the outstanding quantity to be received based on the purchase order. If option not in use, each product will list no qty received with the qty outstanding on PO.
- Receive into warehouse without a PO: Scan, enter, or select product being received from lookup.
- The steps for entering the receipt details change based on version of Acctivate Mobile and what’s included in the barcode being scanned.
- Android: Barcodes including the product ID, qty, and lot/serial details can be scanned one time to enter all details listed in the scan. Continue scanning for each new lot/serial number to enter all being received. Skip to step 8 after scanning complete to enter Location details. If barcode only includes product ID, other details will need to be manually entered.
- Window Mobile: Barcodes with product ID, qty, and lot/serial details need to be scanned once for each data point. Acctivate reads the barcode and parses out the necessary details based on which field the cursor is sitting in and the application identifier within the scan.
- With the correct row selected, update/enter the Qty received by scanning the product barcode, manually entering, or using the up/down arrows.
- To create the lot/serial number, click the # button to scan or enter lot/serial number details. Press check button at the top of the screen when finished entering lot/serial number details for selected item to return to list of products on receipt.
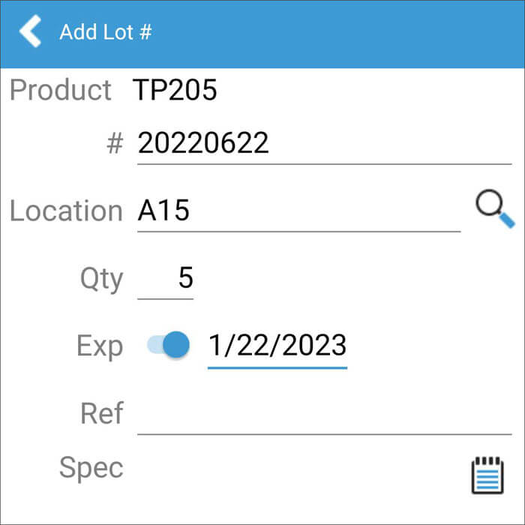
- For customers needing to receive into a bin location, add the Location by scanning, entering, or selecting from the lookup.
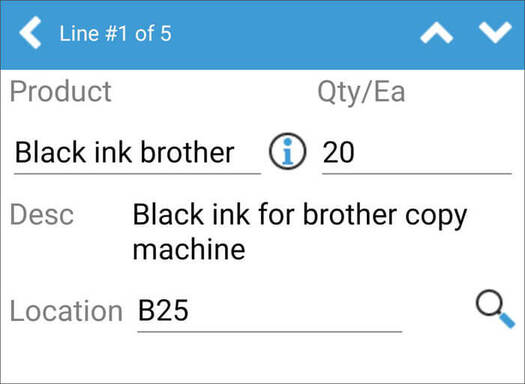
- Repeat steps 5-8 for each product being received until all details entered. On Android devices, users can click the up/down arrows at the top of each screen to move through the lines of the receipt. Windows requires the user to scan or select the line on screen to enter qty and/or location for each line.
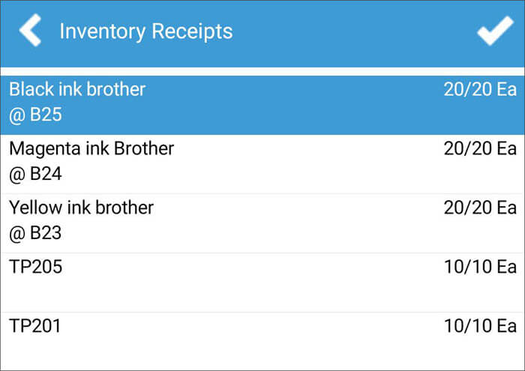
- Select check box at the top of the screen when ready to save or post session. Users have the option to Print Product Labels, Print Put Away List for Inventory Receipts, and see any Quantity Discrepancies being received vs what’s outstanding on the selected PO.
- To complete receipt session, click check box at the top of the screen to Save or Post.


